Learn how to make your templates either from the ground up or by using email messages you already sent.
Create, edit, back up, and export your email templates with ease by following instructions below.
Here is the Getting Started cheat sheet for you.

Learn how to make your templates either from the ground up or by using email messages you already sent.

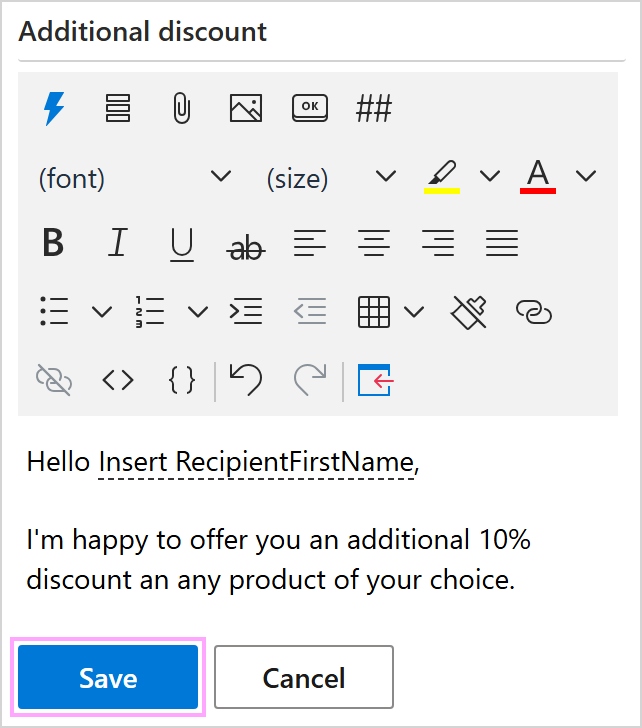
Use the template editor toolbar to insert macros, pictures, buttons, or a signature, fill in message fields, add attachments, and bind tables to datasets.
Here you can find a detailed description of the Shared Email Templates pane.


When you select a folder, you can see its name and description in the preview pane. You can edit, copy, move, and delete the folder or visit the relevant help page by clicking the corresponding button.

Note. The HTML code of a template must not contain more than 131,072 symbols.
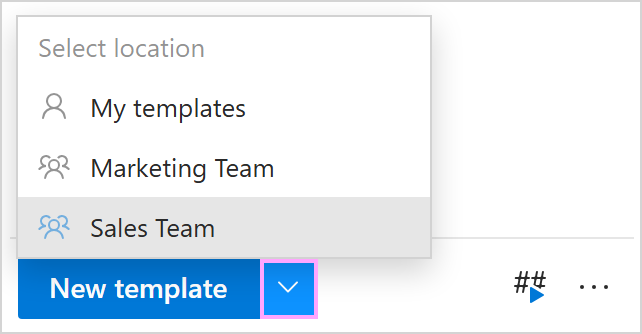
Alternatively, you can select My templates, a team, or a subfolder, and then click the New template button to proceed.
![]()
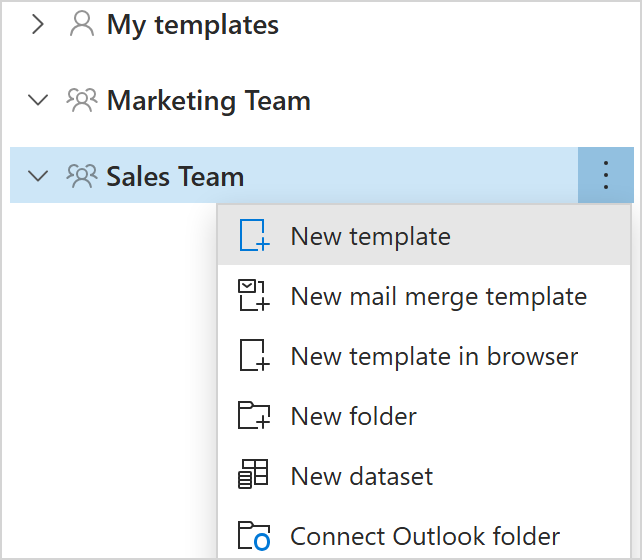
You can also right-click My templates, a team, or a subfolder and select New template or New template in browser to start creating your template.
Note. Creating a template from a draft email is not supported in Shared Email Templates for Gmail.
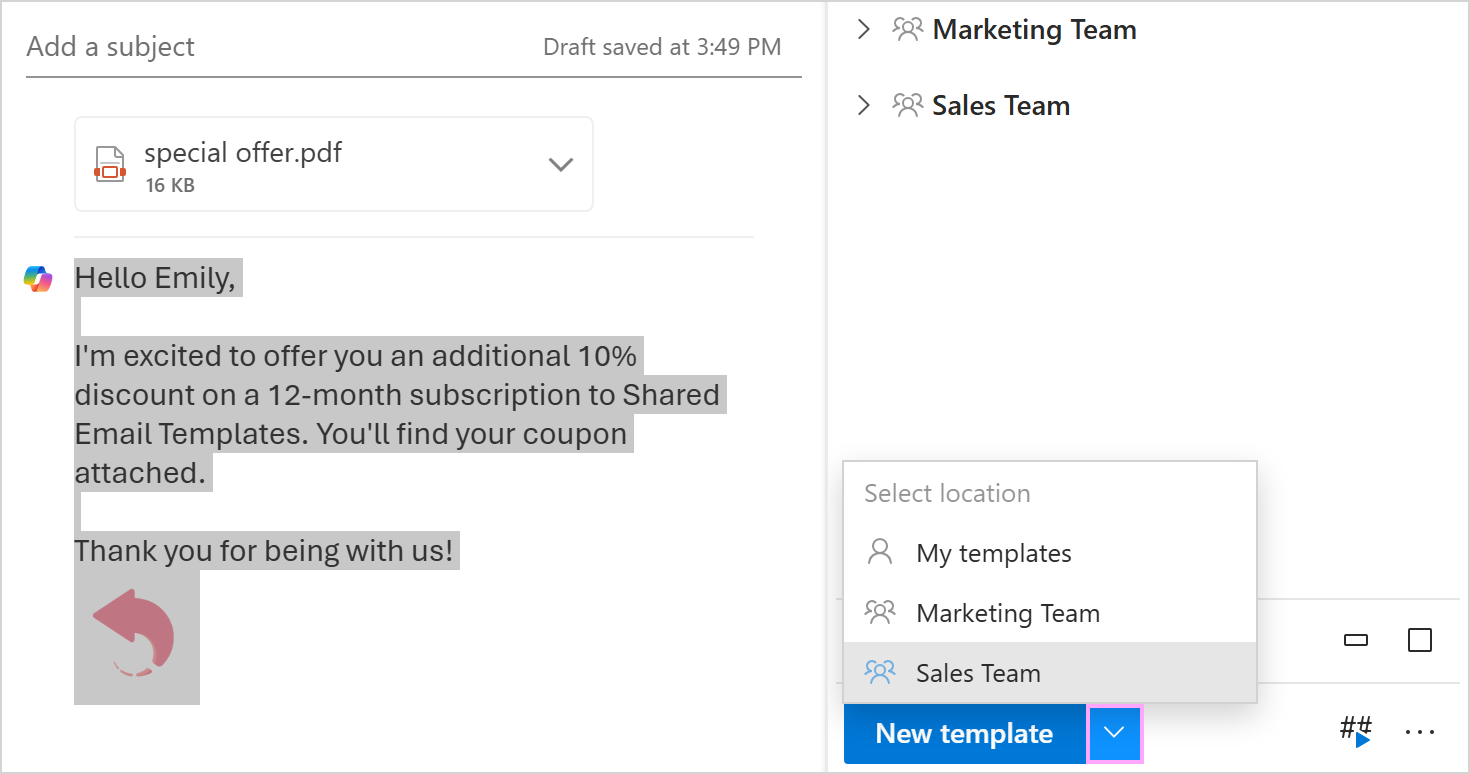
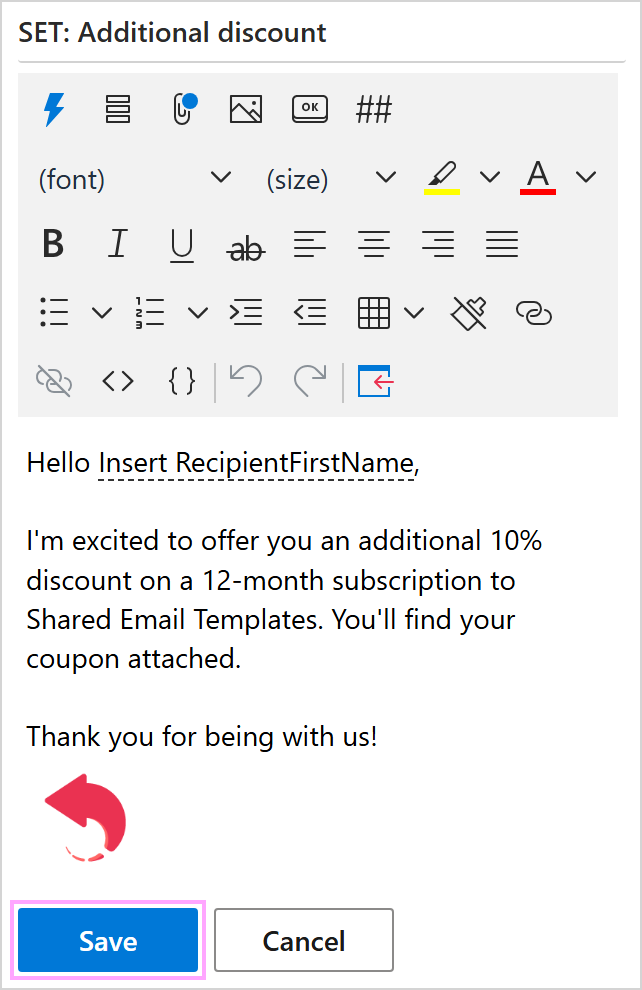
Alternatively, you can select the email content, choose My templates, a team, or a subfolder, and then click the New template button to proceed.
To edit a template, select it on the add-in pane and click Edit.

To edit a template in the Shared Email Templates app in your default browser, select a template on the add-in pane and click Edit in browser.

When editing a template, you can insert macros, fill in message fields, choose files to attach, add pictures and buttons, insert shortcuts, select a signature, change text formatting, create tables, add and remove hyperlinks, view HTML and the template content, and insert the template into an email message.

Note. The Signature dropdown list is available on the template editor toolbar if you have signatures associated with the folder where you're currently creating or editing your template.
Note. The signature selected from the Signature dropdown list will not be inserted if a template already contains the Insert Signature option of the Insert macro. The signature returned by the Insert macro will be inserted instead.
Tip. To change a style applied to the table by default, right-click the table, select the Style option, and then select the style you want to apply.

Tip. If you need advanced formatting, you can collect and edit your templates in Outlook, and then connect an Outlook folder to Shared Email Templates [DEPRECATED].
To get the To, Cc, Bcc, or Subject field filled in automatically when you use a certain template, click Message fields.

Enter email addresses for the To, Cc, and Bcc fields and text for the Subject field. Then click Save.
Note. If you want to enter several email addresses into the To, Cc, or Bcc field, use a semicolon to separate them.

If there is some data saved, the Message fields button will be marked with a blue dot: ![]()
Note. If the To, Cc, Bcc, or Subject fields in the email you're inserting the template into already contain values, they'll be overwritten with those from the corresponding pre-filled message fields in the template.
Click Message attachments to select a file that will be automatically attached to your email message when you insert the template.

Choose an attachment source (cloud storage or URL), click the plus sign next to it, select a file or enter a URL, and then click Close.

A blue dot will appear on the Message attachments button: ![]()
For quick access to the InsertPicture macro options, click Insert picture.

Then choose any option you like.

Note. If you use Shared Email Templates for Gmail, you can insert pictures from URLs, Google Drive, and properties.
With Insert button, you can add a button to your template.

You just need to specify the button dimensions and alignment, choose a color for the button, and decide what text and link your button will have.

You can insert a whole template or just a part of it.
To insert a whole template into an email message, select the template in the list on the add-in pane, and then click Insert.

Note. If the Subject field in your email message is empty, it will be automatically filled with the name of the inserted template unless you use the Fill macro to fill the Subject field with certain text or the Add macro to add certain text to the Subject field.
To insert a part of a template, select this part, and then click Insert in the preview pane.

Note. This inserting option does not work for templates located in linked Outlook folders.
You can also insert a template or its part in the Edit mode.
To insert a whole template when you're editing it, click Insert on the template editor toolbar.

To insert a part of the template you're editing, select this part, and then click Insert on the template editor toolbar.

To copy the text of a template to the clipboard, right-click the template, and then select Copy to Clipboard:

Tip. When selecting Copy to Clipboard, keep the Alt key pressed to make macros that add information to the message body work and, as a result, copy not the macros themselves but the values they return.
Compare:
I'm happy to offer you an additional ~%WhatToEnter{"title":"Choose a discount","type":"dropdown",
"items":["5% discount","10% discount","15% discount"],"editable":false,"required":true,"multiselect":
false,"separator":""} on any product of your choice.
I'm happy to offer you an additional 10% discount on any product of your choice.
Note. This combination—Copy to Clipboard with the Alt key pressed—is not supported in Outlook for Mac.
For detailed information, visit this help page: Templates for appointments and meetings.
Note. This functionality is not supported in Shared Email Templates for Gmail.
To back up your templates, export or import them, refer to the Back up, export, and import templates guide.
Please contact us here