Shared Email Templates for Microsoft Outlook
Insert pictures into templates
In Shared Email Templates, you can insert pictures from OneDrive, SharePoint, and URLs, or add pictures directly to the HTML code by using the <img> tag. You can also insert your profile photo from Azure Active Directory.
To get a quick Insert Pictures cheat sheet, click the button below.
How to use images in Outlook email templates
Check out how easy it is to add pictures to templates, whether it's an image from a web link, a picture from OneDrive, or your profile photo from Azure AD.
Before you start
Before adding images in Shared Email Templates, read the notes below.
- To avoid signing in to your Microsoft account each time you insert images from OneDrive or SharePoint, turn on the single sign-on feature.
- When inserting a picture from OneDrive with the InsertPicture macro in a template that is shared with other users, make sure that your teammates have access to the corresponding file or folder in OneDrive. For example, you can create a special folder in your OneDrive, share it with all your teammates, and collect all the images you share in templates there. For detailed information on managing access in OneDrive, visit the Share OneDrive files and folders page on the Microsoft Support website.
- When inserting a picture from SharePoint with the InsertPicture macro in a template that is shared with other users, make sure that your teammates have access to the corresponding file or folder in SharePoint. For detailed information on managing access in SharePoint, visit the Share SharePoint files or folders page on the Microsoft Support website.
- When you use a template containing the InsertPicture macro, the add-in transfers the chosen file directly from your OneDrive or SharePoint to your computer.
- When you use a template containing the InsertPicture macro to insert an image from SharePoint, you have to be logged in to SharePoint so that the macro has access to the file.
- Inserting images from SharePoint with the InsertPicture macro won't work on free accounts, such as Outlook.com, as they do not have SharePoint.
- When inserting a picture from a URL with the InsertPicture macro in a template that is shared with other users, make sure that your teammates have access to the specified URL.
- If you see an error message saying that your attached picture can't be added, please check the size of the picture and try to decrease it.
Insert a picture from a URL
-
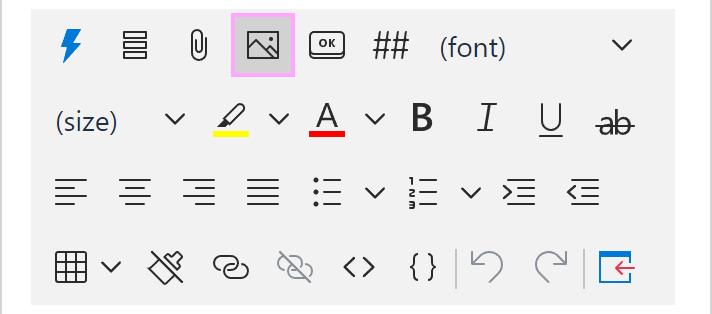
On the template editor toolbar, click the Insert picture button.
-
Select Insert picture from URL.
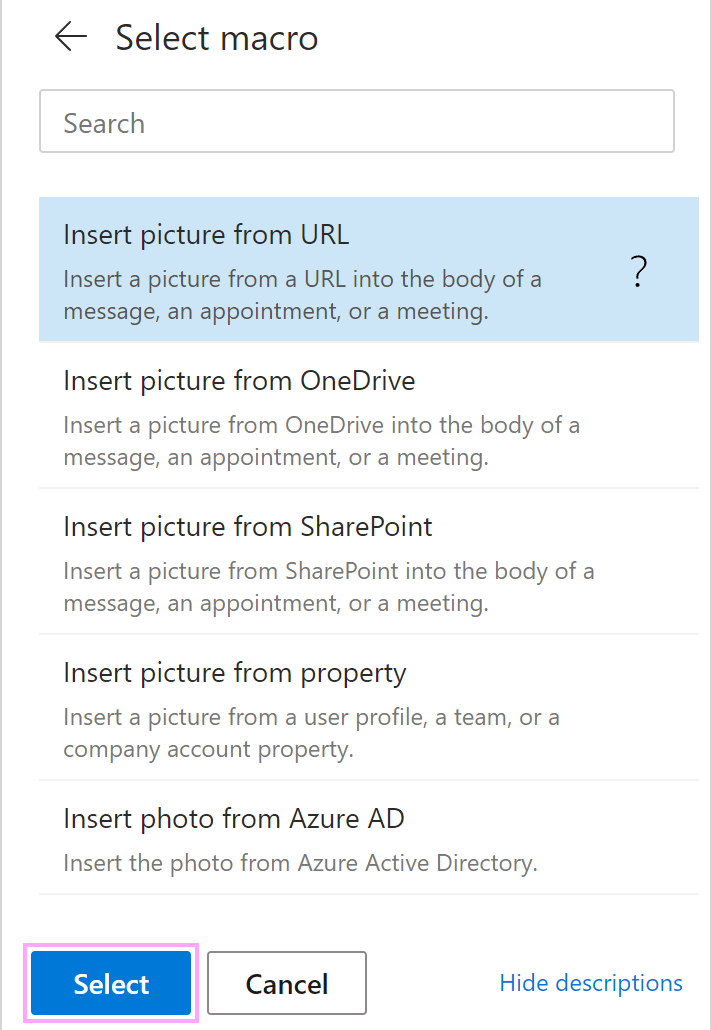
- Enter the address of the picture you're going to insert.
Note. Do not use a link to a picture stored in OneDrive or SharePoint. For example, you might want to open a picture in a browser, copy its address from the address bar, and paste it into the Insert picture dialog. This won't work. Or you might want to copy a link to a picture while sharing it in OneDrive and paste it into the Insert picture dialog. This won't work either.
Set the size of the picture and add the link URL and the link title if you want to. If you decide not to set the size of the picture, the original dimensions will be kept. When you're done, click OK.

Note. With the selected As a hidden attachment checkbox, the picture will be downloaded, attached to an email, and displayed in the message body, but it won't be shown as an attachment. Even if the picture address is modified or the source picture is deleted, the picture will stay displayed in a sent email.
Tip. With the Insert nested macro button, you can open a list of macros that can be nested and select the one you need.

-
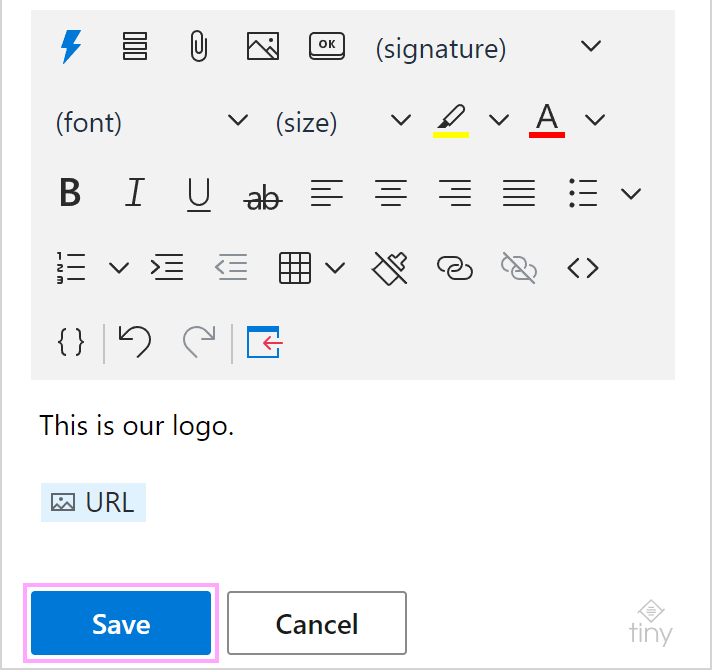
A fillable field shown with the InsertPicture macro placeholder will appear in your template. Select the Save button.
Insert a picture from OneDrive
-
On the template editor toolbar, click the Insert picture button.

-
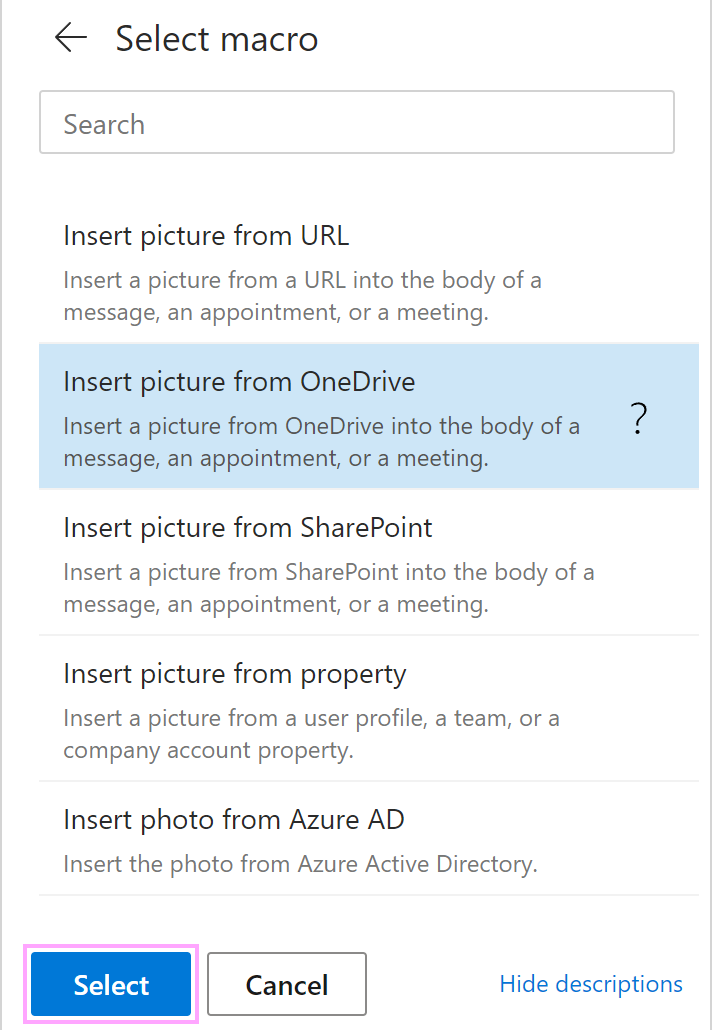
Select Insert picture from OneDrive.
-
Select a picture you want to insert.
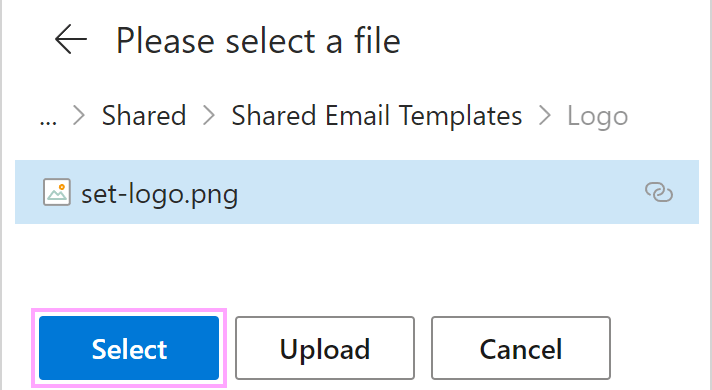
Tip. You can also upload a picture from your local storage to OneDrive and then insert it.
-
You can set the size of the picture. Otherwise, its original dimensions will be kept. You can also add the link URL and the link title, or you can leave these fields empty. When you're done, click OK.

-
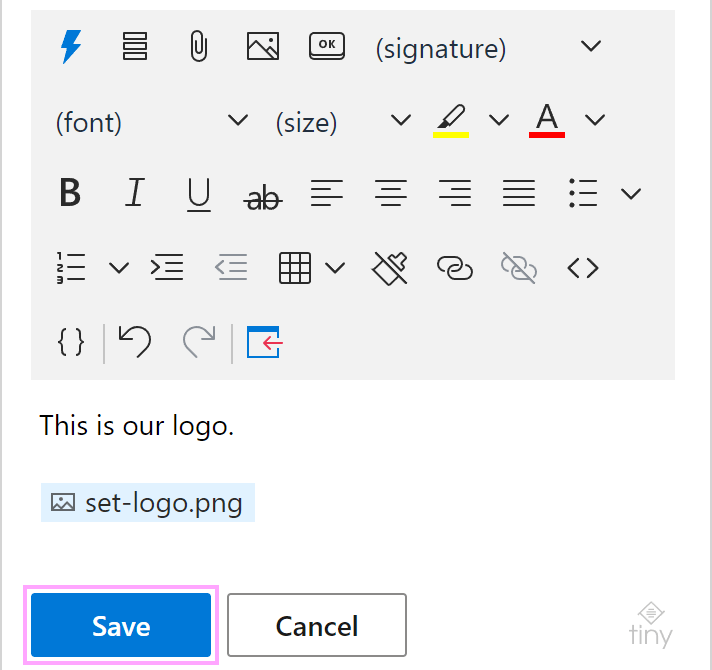
The InsertPicture macro placeholder will be added to your template. Select the Save button.
Insert a picture from SharePoint
-
On the template editor toolbar, click the Insert picture button.

-
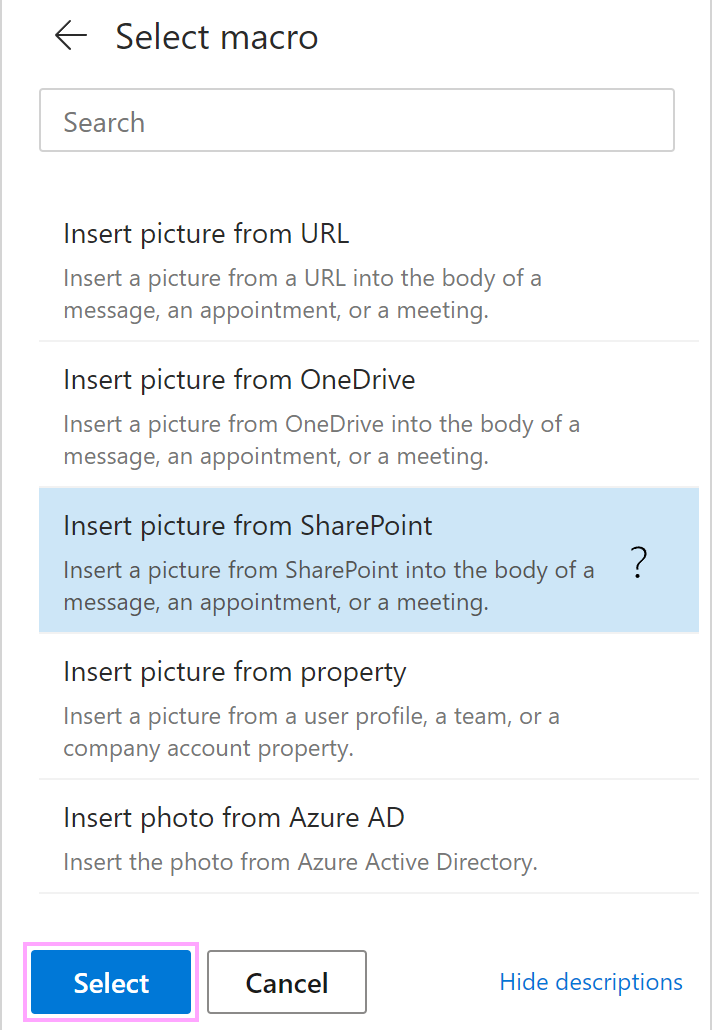
Select Insert picture from SharePoint.
-
Select a picture you want to use.
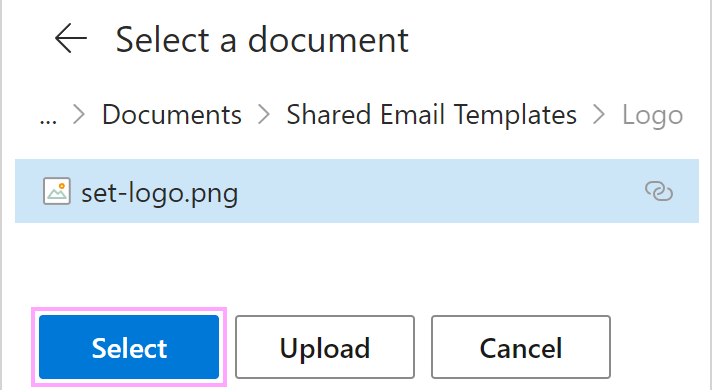
Tip. You can also upload a picture from your local storage to SharePoint and then insert it.
-
You can set the size of the picture and specify the link URL and the link title. If you do not enter the width and the height of the picture, the original dimensions of the picture will be kept. Click OK.

-
In your template, you'll see the InsertPicture macro placeholder. Select the Save button.
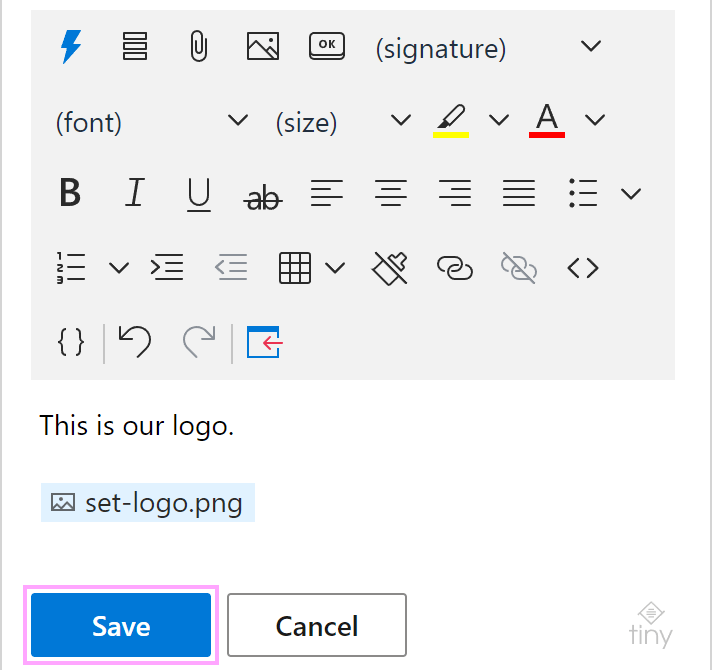
Insert a picture from a user profile, a team, or a company account property
-
On the template editor toolbar, click the Insert picture button.

-
Select Insert picture from property.

-
In the Insert picture dialog, select a property type (company account property, team property, or user property) and the property name. You can also set the size of the picture and add the link URL and the link title. If you do not enter the width and height, the original dimensions will be kept. When you're done, click OK.
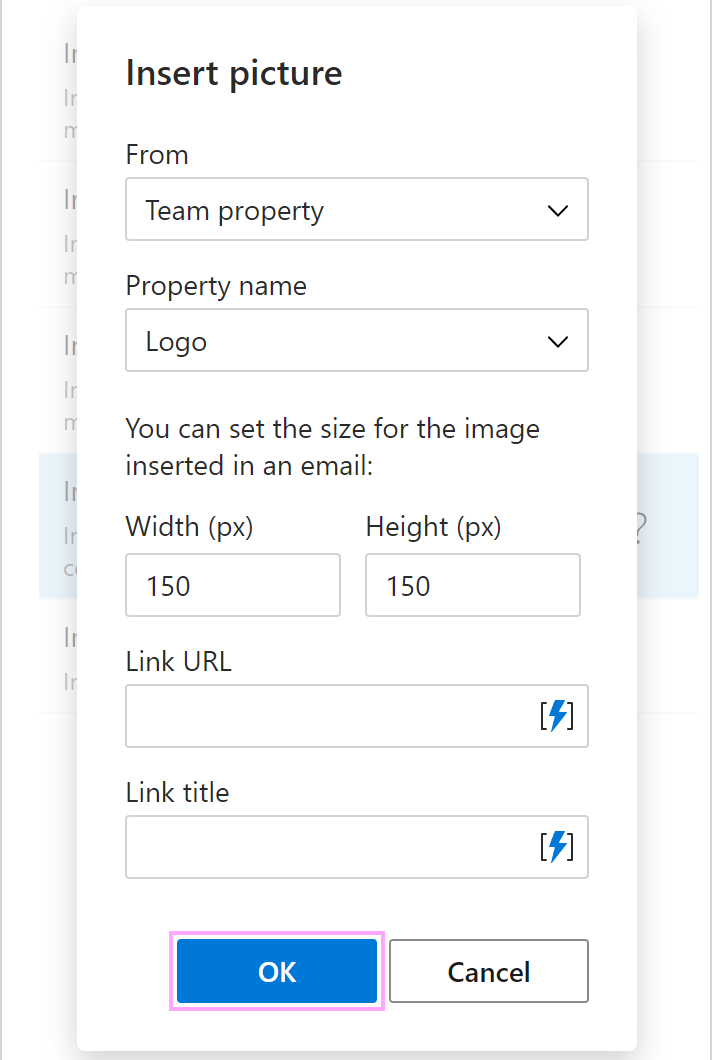
Tip. With the Insert nested macro button, you can open a list of macros that can be nested and select the one you need.

-
The InsertPicture macro placeholder will be added to your template. Select the Save button.
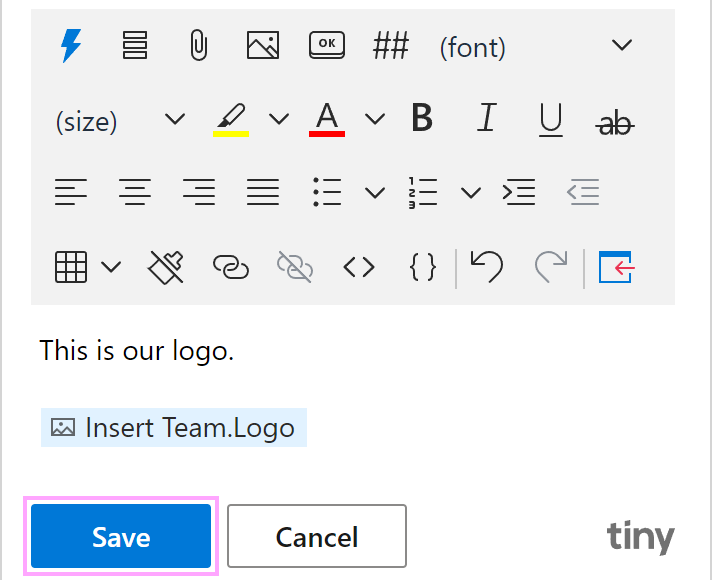
Insert a profile photo from Azure Active Directory
-
On the template editor toolbar, click the Insert picture button.

-
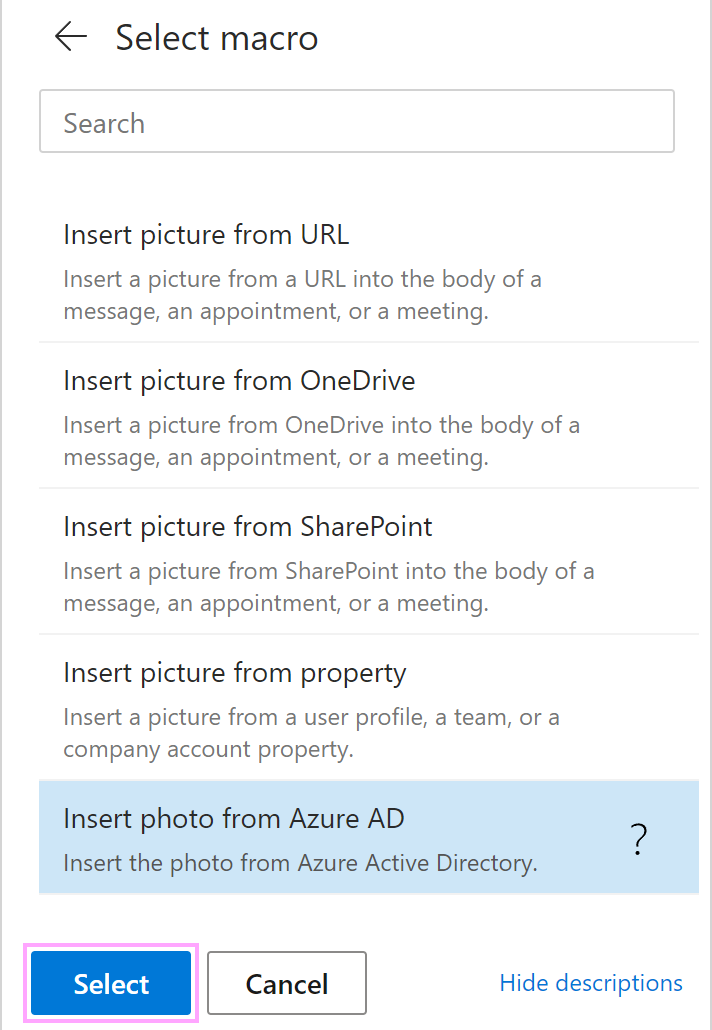
Select Insert photo from Azure AD.
-
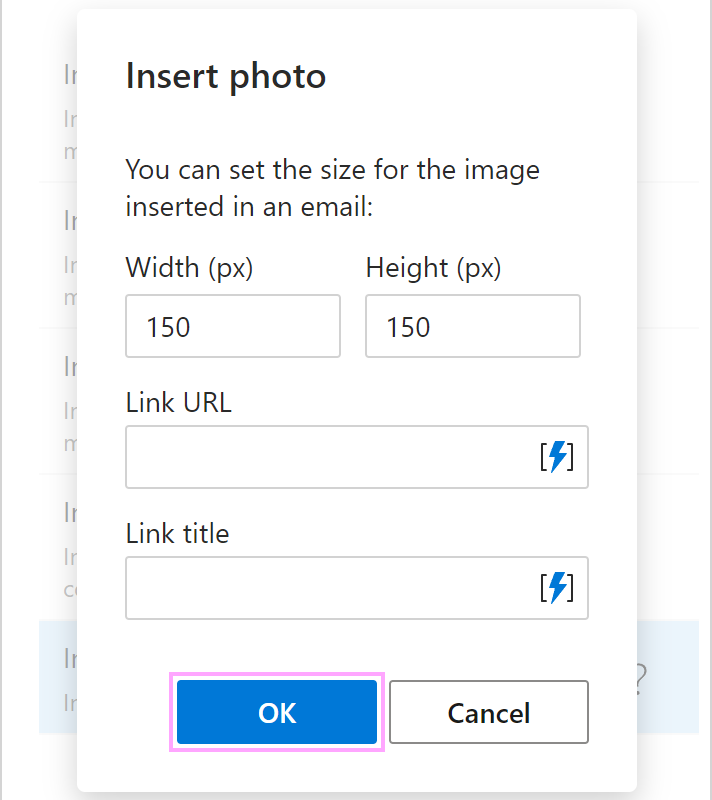
Via the Insert photo dialog, you can set the size of the photo and enter the link URL and the link title. This is optional. If you do not specify the width and the height, the original dimensions will be kept. Click OK.
Tip. With the Insert nested macro button, you can open a list of macros that can be nested and select the one you need.

-
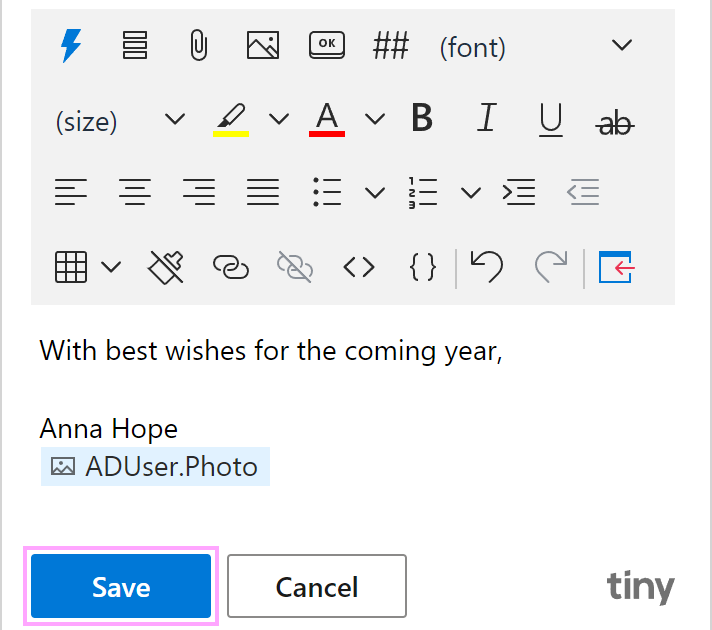
The InsertPicture macro placeholder will appear in your template. Select the Save button.
Insert a picture from the clipboard
To insert a picture copied to the clipboard into the template you're creating or editing, place the cursor where you want the picture to appear, then right-click and select Paste.

You can also press Ctrl+V on your keyboard.
A dialog will show up asking you to select a OneDrive or SharePoint folder where all in-place images for your templates will be stored. Proceed with choosing a folder by clicking Select.

Note. The folder you'll select will be a centralized storage for your in-place images. If you paste a picture from the clipboard to a template, and then copy it from that template to other ones, it will be possible to replace the picture in all those templates by replacing it in the folder where it's stored. However, for your convenience, we recommend that you use the InsertPicture macro for images in your templates.
If in-place images are intended for team templates, you'll see a dialog asking you to make sure that your teammates have access to the folder you've selected.

If you're an admin of your company or team account or have Editor permissions for your team, you can find the pictures folder path in custom properties of the corresponding team. To see custom properties, right-click a team and select Team properties.

You can change the folder path or delete the property if you want to.

Note. If you change the pictures folder path, the pictures might stop working.
To see the path of the pictures folder for personal templates, right-click My templates and select Edit properties.

As soon as you insert a picture from the clipboard into your template, you can add alt text, a link, or a condition to the picture, set the size of the picture, open the pictures folder where the file containing the picture is stored, or open the file itself.

Add an image in HTML
-
On the template editor toolbar, click the View HTML button.

-
Enter the <img> tag along with the URL and the size of an image.
For example, if the image, say, logo.png, is at https://cdn.company.com/ and you want it to be 150px wide and 80px high, the HTML code will be as follows:
<img src="https://cdn.company.com/logo.png" width="150" height="80">
- When you're done, click OK.

If you want to keep the original dimensions of the image, you can leave out the width and the height, and the HTML code will look like this:
<img src="https://cdn.company.com/logo.png">
You can also enter the desired size of the image in percentage:
<img src="https://cdn.company.com/logo.png" width="80%" height="80%">
Note. If you use the <img> tag in a template that is shared with other users, make sure that your teammates have access to the specified URL.
Single sign-on (SSO) for OneDrive and SharePoint
If you have only one OneDrive account that is the same as your Microsoft 365 Outlook account, you can take advantage of single sign-on to avoid entering or confirming your credentials each time you insert images from OneDrive or SharePoint.
With single sign-on, you'll need to accept required permissions only once. After that, all images will be inserted without any additional pop-ups.
Disable SSO
The single sign-on feature is turned on by default. If you need to insert images from different OneDrive accounts, turn single sign-on off:
-
Go to the More menu, and then select Profile.

-
Click Edit Account.

-
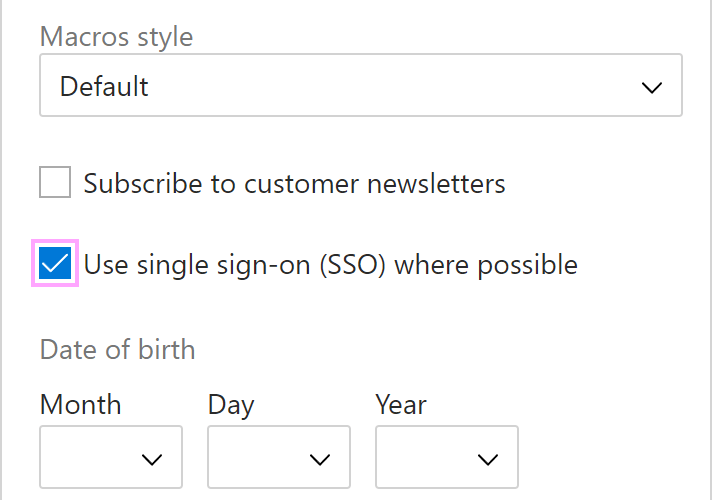
Clear the checkbox next to Use single sign-on (SSO) where possible. Then save the changes.
Important notes
Note. The single sign-on feature:
- Is not supported in the web app. It is available only in the Outlook add-in (desktop or online).
- Is available only if your Outlook provides mailbox API 1.9 and higher.
- Works in Microsoft 365 accounts only and isn't supported in free accounts, such as Outlook.com, Hotmail.com, or gmail.com.
You might see an error message in red below the Use single sign-on (SSO) where possible checkbox. In most cases, the message is related to one of the points mentioned above.
However, if you see the "SSO is not supported in your current add-in version" message, most probably, you simply need to wait a bit till the app is updated in your account. The speed of this process depends on Microsoft, and we can't influence it.
Post a comment
Seen by everyone, do not publish license keys and sensitive personal info!
