Shared Email Templates for Microsoft Outlook
Attach files to templates
With Shared Email Templates, you can automatically attach files from OneDrive, SharePoint, and URLs. You can also set reminders so as not to forget to attach files from your local storage.
To get a quick Attach Files cheat sheet, click the button below.
How to attach files to Outlook messages automatically
If you want to automatically add attachments to your Outlook email messages, watch this video. We hope you'll find it helpful.
Before you start
Pay attention to the following points:
- There are two ways to attach files: with the Message attachments button in the template editor and by using the Attach macro. These are two different processes, so files that you attach with the help of the Attach macro won't be shown in the Message attachments dialog.
- You might face limitations on the size and number of attachments that are different in Office 365, Outlook.com, and Exchange Server. If you see an error message saying that your attachment can't be added, please check the size of your file and try to decrease it.
- To avoid signing in to your Microsoft account each time you attach files from OneDrive or SharePoint, enable the SSO option.
- When attaching a file from OneDrive in a template that is shared with other users, make sure that your teammates have access to the corresponding file or folder in OneDrive. For example, you can create a special folder in your OneDrive, share it with all your teammates, and collect all the documents that you share in templates there. For detailed information on managing access in OneDrive, visit the Share OneDrive files and folders page on the Microsoft Support website.
- When attaching a file from SharePoint in a template that is shared with other users, make sure that your teammates have access to the corresponding file or folder in SharePoint. For detailed information on managing access in SharePoint, visit the Share SharePoint files or folders page on the Microsoft Support website.
- When you attach files, the add-in transfers the chosen file directly from your OneDrive or SharePoint to your computer.
- When you use a template with the Attach macro to attach a file from SharePoint, you have to be logged in to SharePoint so that the macro has access to the file.
- Attaching files from SharePoint with the Attach macro or the Message attachments button won't work on free accounts, such as Outlook.com, as they don't have SharePoint.
- When attaching a file from a URL in a template that is shared with other users, make sure that your teammates have access to the specified URL.
Add attachments in the template editor
Attach a file from OneDrive
-
When creating or editing a template, click the Message attachments button.
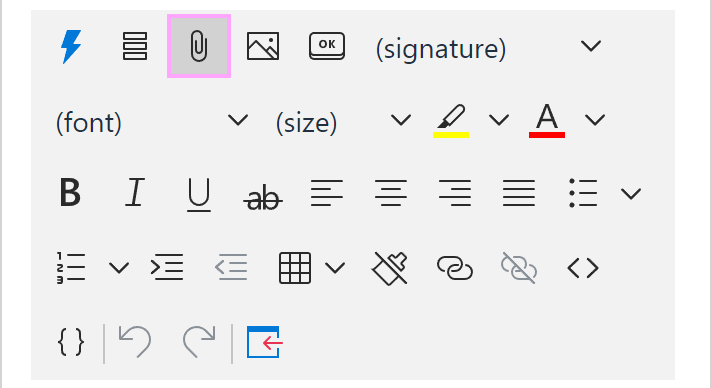
- Click the plus sign that is on the right of OneDrive.

- Select a file.
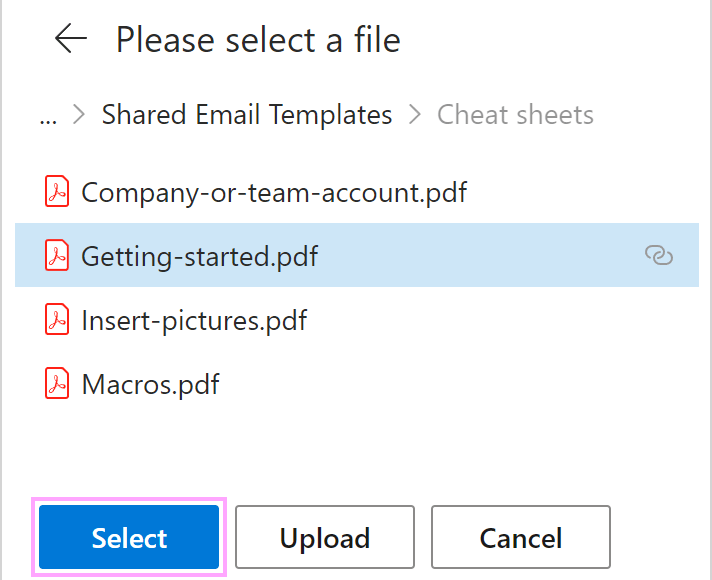
Tip. You can also upload a file from your local storage to OneDrive and then attach it.
-
Close the Message attachments dialog.

A blue dot will appear on the Message attachments button: ![]() Don't forget to save the changes.
Don't forget to save the changes.
To add another attachment or to see what attachment(s) you've already added to your template, click the Message attachments button again.
Attach a file from SharePoint
-
When creating or editing a template, click the Message attachments button.

- Click the plus sign that is on the right of SharePoint.

- Select a file.
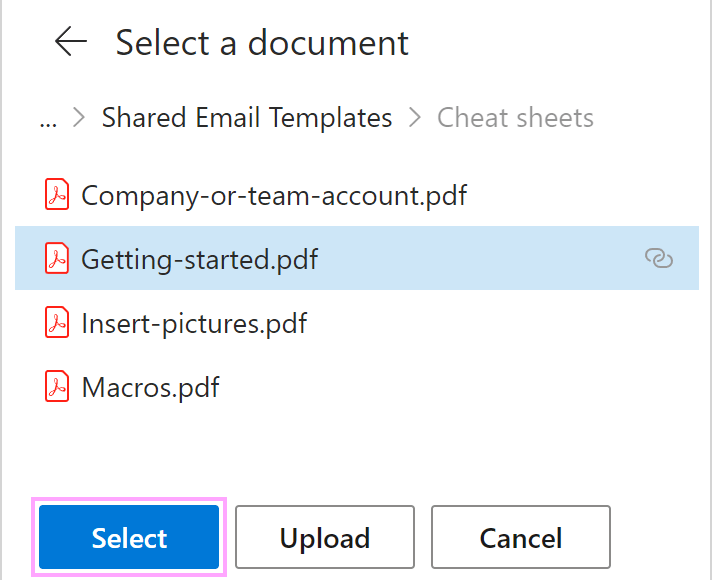
Tip. You can also upload a file from your local storage to SharePoint and then attach it.
-
Close the Message attachments dialog.

A blue dot will appear on the Message attachments button: ![]() Don't forget to save the changes.
Don't forget to save the changes.
To add another attachment or to see what attachment(s) you've already added to your template, click the Message attachments button again.
Attach a file from a URL
-
When creating or editing a template, click the Message attachments button.

- Click the plus sign that is on the right of URL.

- Enter the necessary URL and click Add.

Note. When attaching a file from a URL, do not use a link to a file stored in OneDrive or SharePoint. For example, you might want to open your file in a browser, copy its address from the address bar, and paste it into the Add from URL dialog. This won't work. Or you might want to copy a link to your file when sharing it in OneDrive and paste it into the Add from URL dialog. This won't work either.
-
Close the Message attachments dialog.

A blue dot will appear on the Message attachments button: ![]() Don't forget to save the changes.
Don't forget to save the changes.
To add another attachment or to see what attachment(s) you've already added to your template, click the Message attachments button again.
Attach files with a macro
Attach a file from a URL
-
When creating or editing a template, click the Insert macro button.
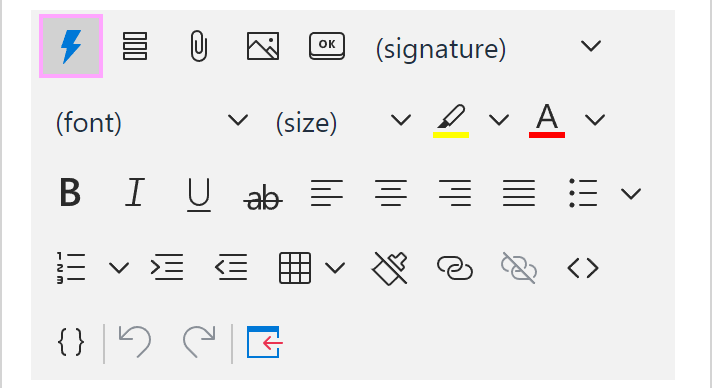
-
Select Attach from URL.

-
Instead of a sample URL, enter the necessary one. Click OK.

Note. When attaching a file from a URL, do not use a link to a file stored in OneDrive or SharePoint. For example, you might want to open your file in a browser, copy its address from the address bar, and paste it into the Attach from URL dialog. This won't work. Or you might want to copy a link to your file when sharing it in OneDrive and paste it into the Attach from URL dialog. This won't work either.
Tip. With the Insert nested macro button, you can open a list of macros that can be nested and select the one you need.

-
Save your template.
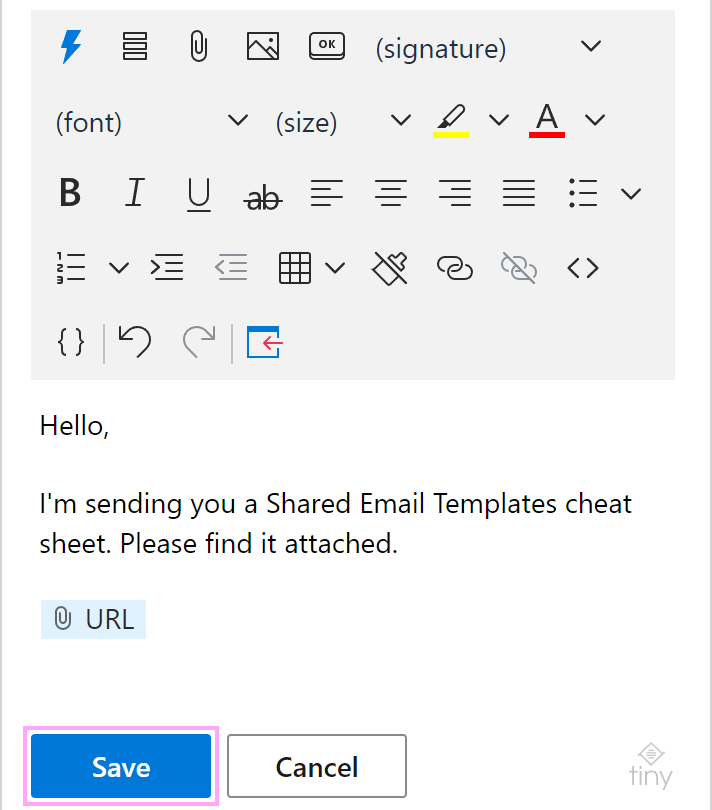
Attach a file from OneDrive
-
When creating or editing a template, click the Insert macro button.

-
Select Attach from OneDrive.

-
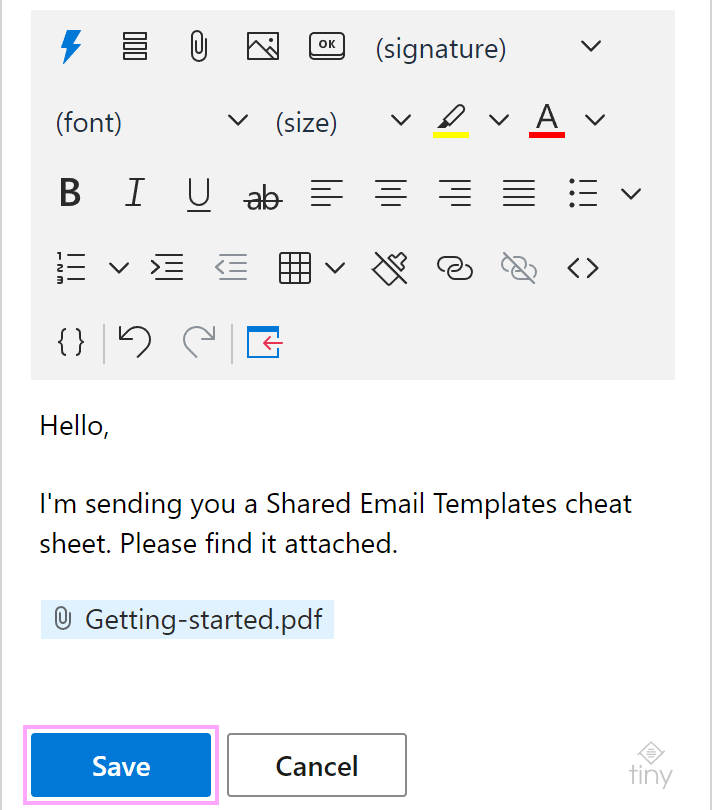
Choose a file that is going to be attached, and then click Select.
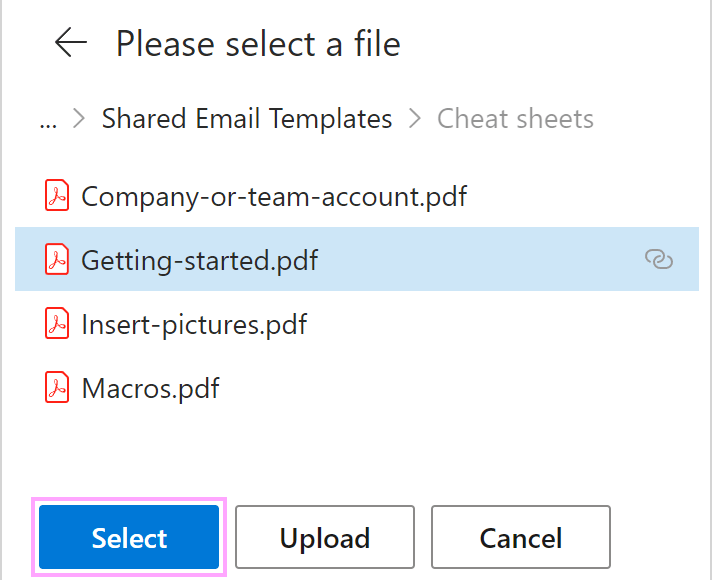
Tip. You can also upload a file from your local storage to OneDrive and then attach it.
-
Save your template.
Attach all files from a OneDrive folder
-
When creating or editing a template, click the Insert macro button.

-
Select Attach files from OneDrive folder.

-
Choose a folder, and then click Select.
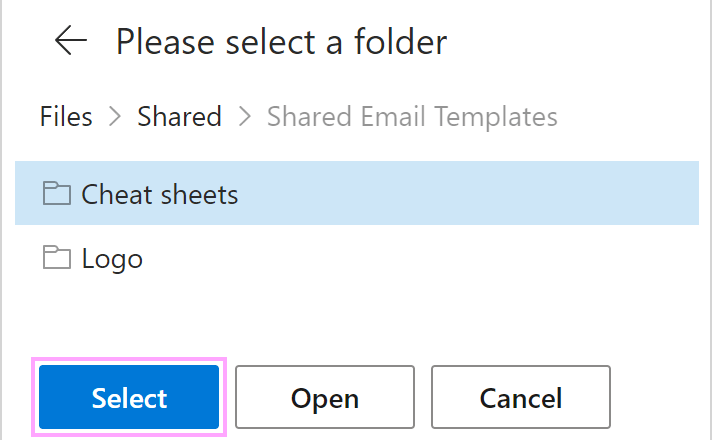
-
Save your template.
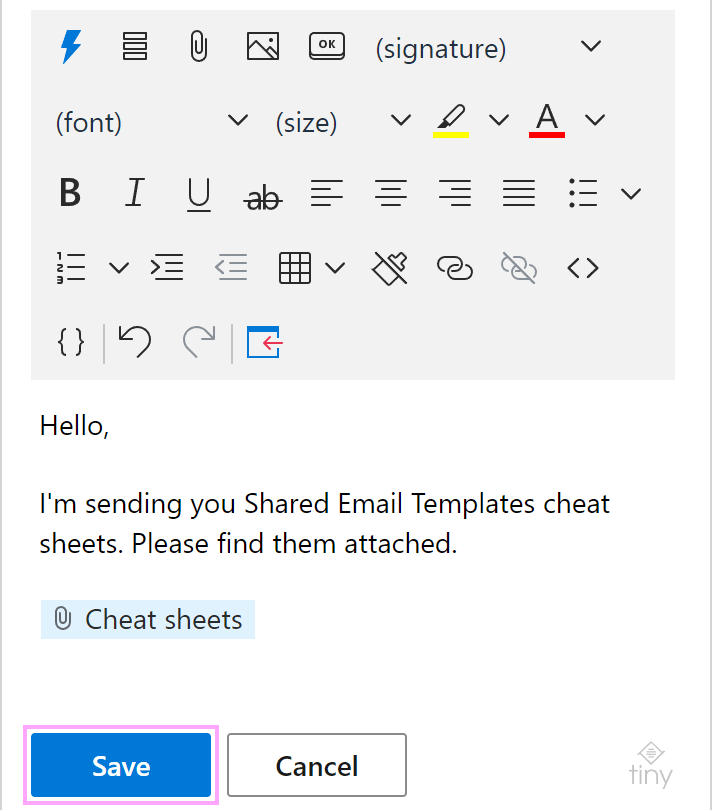
Attach a file from SharePoint
-
When creating or editing a template, click the Insert macro button.

-
Select Attach from SharePoint.

-
Choose a file that is going to be attached, and then click Select.
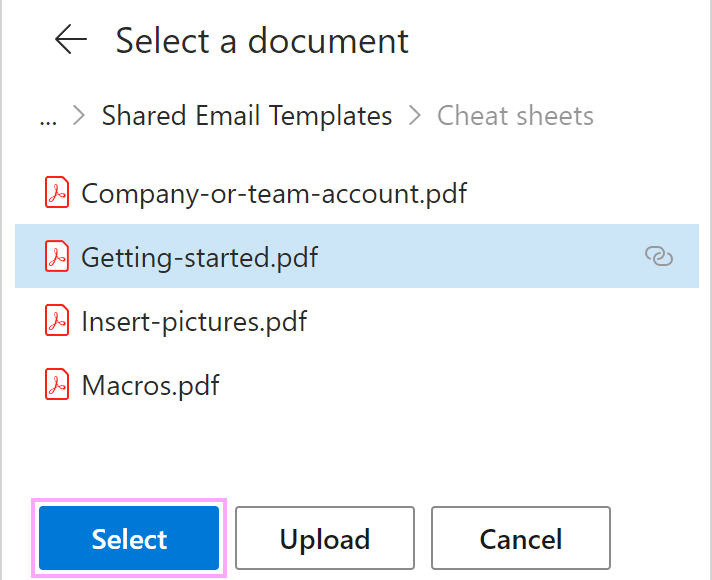
Tip. You can also upload a file from your local storage to SharePoint and then attach it.
-
Save your template.
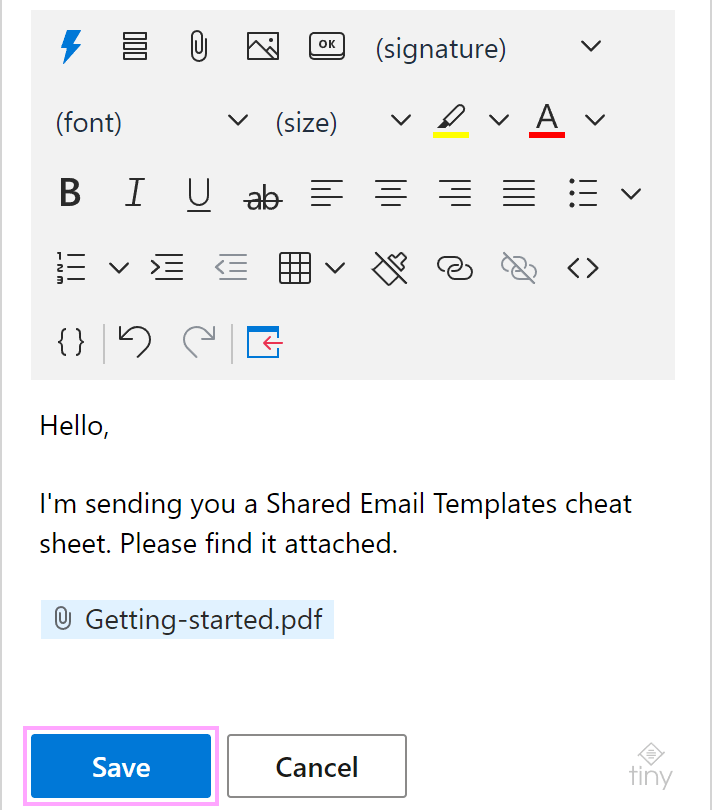
Attach all files from a SharePoint folder
-
When creating or editing a template, click the Insert macro button.

-
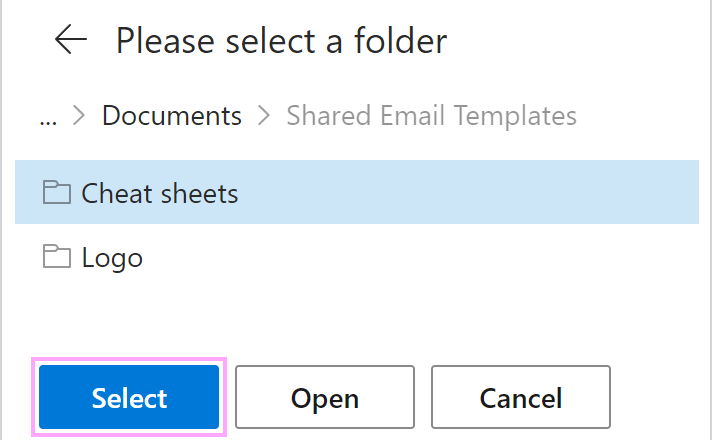
Select Attach files from SharePoint folder.

-
Choose a folder, and then click Select.
-
Save your template.
Attach files from a local storage
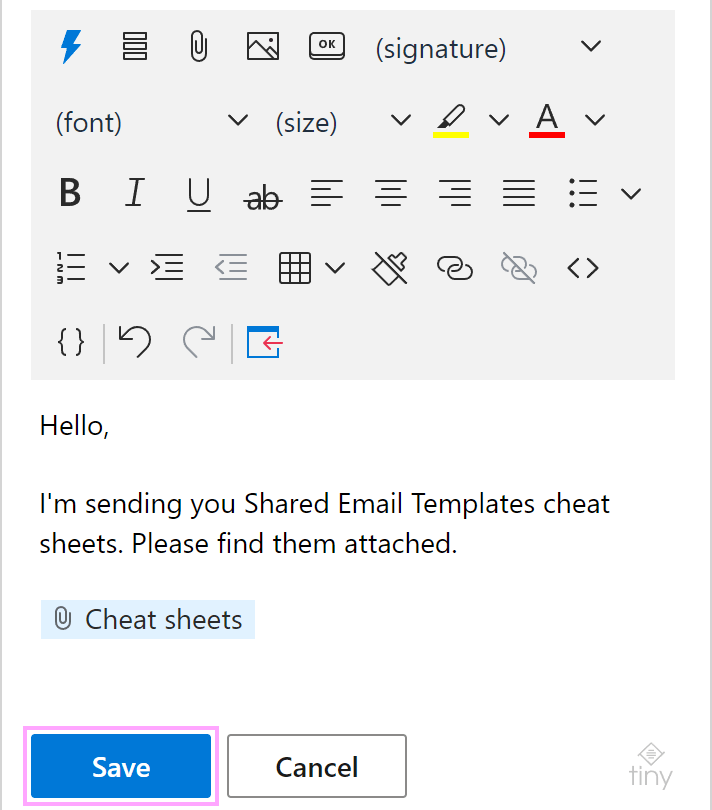
To remind yourself to attach a file from your local storage when using a template, insert the WhatToAttach macro into the template.
-
Start editing a template. Then click the Insert macro button.

-
Select What to Attach.

-
Type in any word or phrase that will prompt you to attach the necessary file. Then click OK.

Tip. With the Insert nested macro button, you can open a list of macros that can be nested and select the one you need.

- With a check mark next to Required, your template won't be inserted into an email message if a file is not selected.
- With a check mark next to Allow multiple files, it will be possible to select more than one file.
-
Save your template.

When you insert a template that contains the WhatToAttach macro, you'll see a dialog reminding you that an attachment is needed. To select a file, click Browse.

Single sign-on (SSO) for OneDrive and SharePoint
If you have only one OneDrive account that is the same as your Microsoft 365 Outlook account, you can take advantage of single sign-on to avoid entering or confirming your credentials each time you attach files from OneDrive or SharePoint.
With single sign-on, you'll need to accept required permissions only once. After that, all files will be attached without any additional pop-ups.
Disable SSO
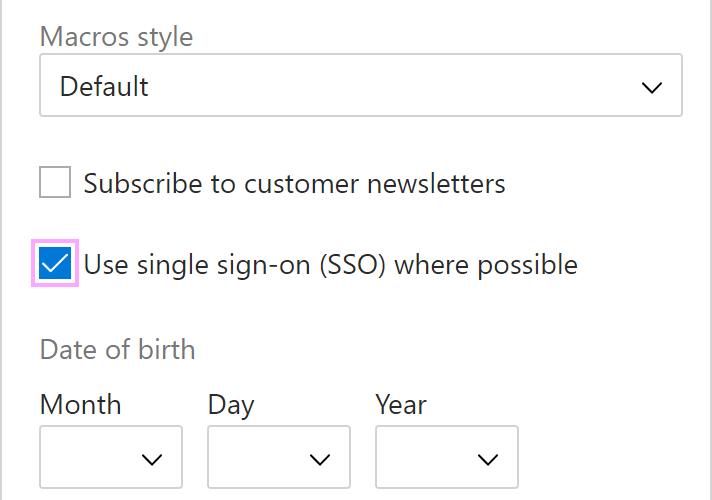
The single sign-on feature is turned on by default. If you need to attach files from different OneDrive accounts, turn single sign-on off:
-
Go to the More menu, and then select Profile.

-
Click Edit Account.

-
Clear the checkbox next to Use single sign-on (SSO) where possible. Then save the changes.
Important notes
Note. The single sign-on feature:
- Is not supported in the web app. It is available only in the Outlook add-in (desktop or online).
- Is available only if your Outlook provides mailbox API 1.9 and higher.
- Works in Microsoft 365 accounts only and isn't supported in free accounts, such as Outlook.com, Hotmail.com, or gmail.com.
You might see an error message in red below the Use single sign-on (SSO) where possible checkbox. In most cases, the message is related to one of the points mentioned above.
However, if you see the "SSO is not supported in your current add-in version" message, most probably, you simply need to wait a bit till the app is updated in your account. The speed of this process depends on Microsoft, and we can't influence it.
Post a comment
Seen by everyone, do not publish license keys and sensitive personal info!
