Shared Email Templates for Microsoft Outlook / Gmail
Create and edit datasets
If you have tables with data that you need for your email templates, you can create and use datasets.
To open a quick Datasets cheat sheet, click the button below.
How to populate emails with data from datasets
By watching this video, you'll find out how to get dataset values inserted into your email messages automatically and interactively.
Key definitions
- Dataset. A set of data organized into a table from which values for your email messages can be retrieved.
- Simple dataset. A dataset that you create in the add-in manually or import from a TXT or CSV file.
- Key column. The leftmost column of a dataset—an identifier column—that contains values identifying rows from which data are retrieved.
- Key values. Values that the key column contains.
- Default Items column. A column that is used to specify dataset rows that will be automatically selected for the WTE macro dialog or automatically inserted into tables and lists bound to datasets.
- File column. A column that is used to specify files from your cloud storage (for example, OneDrive or Google Drive) that can be attached with the Attach, Insert, and WTE macros as well as with tables and lists bound to datasets.
- Regex Field column. A column that is used to specify email fields. For the WTE macro dialog and tables bound to datasets, this column will enable automatic selection of dataset rows where the content of the specified email fields matches the regular expressions in the Regex column.
- Regex column. A column that is used to specify regular expressions. For the WTE macro dialog and tables bound to datasets, this column will allow automatic selection of dataset rows where the content of the email fields specified in the Regex Field column matches the specified regular expressions.
Creating a dataset
You can either create a dataset right in Shared Email Templates (TXT and CSV files import is supported) or connect an Excel table that you already have on OneDrive or in SharePoint.
Create a simple dataset
Note. The maximum size of a simple dataset is 32 rows, 32 columns, and 512 symbols in each cell.
-
To start creating a simple dataset, right-click a folder on the Shared Email Templates pane, and then select New Dataset.

-
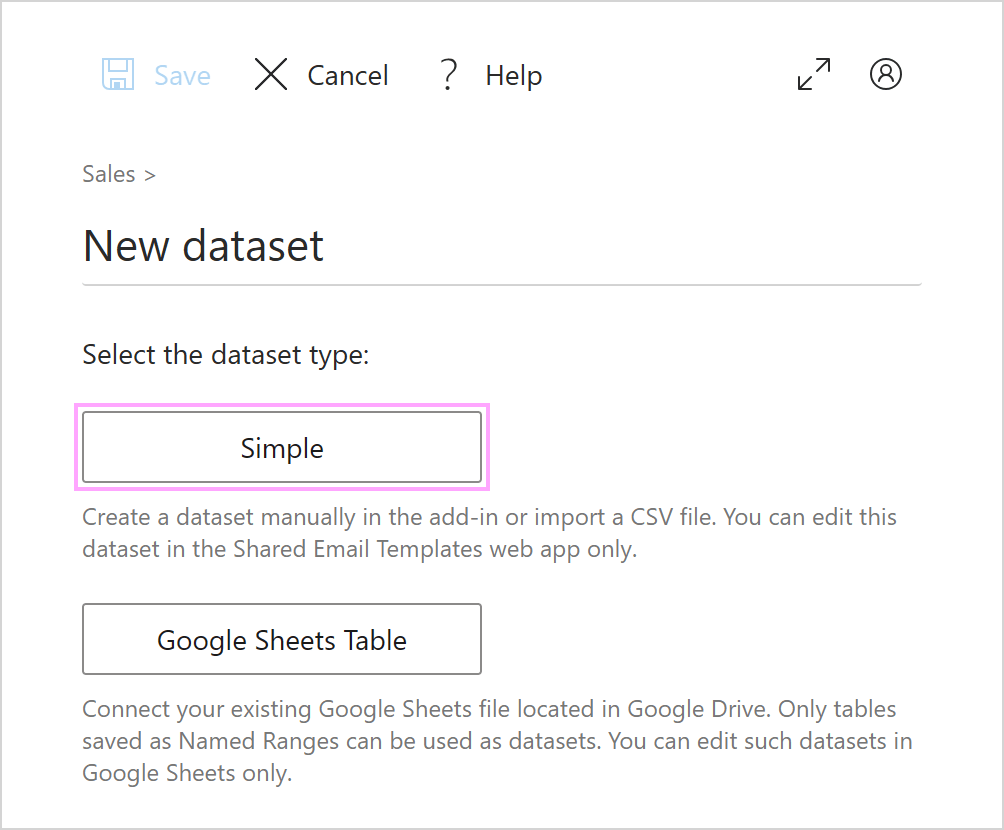
In your default browser, a new tab with the Shared Email Templates app will open. Give your dataset a name and select Simple.

-
Start entering values.

Note. The leftmost column of your dataset is the key column.
-
To rename the key column, enter another name.

-
To add rows, click the plus sign as many times as many rows you need.

-
To add a text column, click the plus sign.

You can also add a file column, a Default Items column, a Regex Field column, and a Regex column. To choose a column type, click the arrow next to the plus sign.

-
To insert a macro into a cell, click Insert Macro there.

Tip. You can enter a piece of HTML code into a cell if you want to.

-
To rename the key column, enter another name.
-
When you finish entering values, select the Save button.

On the Shared Email Templates pane, simple datasets are marked with a special icon.

Import a dataset from a TXT or CSV file
You can import datasets to Shared Email Templates in TXT or CSV formats.
Note. If you import a CSV file, the delimiters between cells must be commas. In a TXT file, the delimiter is a tab character.
-
To import a dataset, right-click a folder on the Shared Email Templates pane, and then select New Dataset.

-
In the Shared Email Templates app in your browser, name your dataset, and then select Simple.

-
Select Import.

Note. If your original table exceeds the maximum size of a simple dataset in Shared Email Templates (32 rows, 32 columns, and 512 symbols in each cell), your data will be cut.
- In File Explorer, select a file, and then click Open.
- Save your dataset.
Connect an Excel table
Before you start
- Only an Excel table can be connected. To convert a range to an Excel table, select it and press Ctrl+T.
- If your Excel table has a column with dates that you want to use in a specific format for your email messages, format the dates as text in Excel desktop.
- As soon as an Excel workbook is connected, do not remove or move it, otherwise the add-in won't find it.
- If you use a connected Excel table for a team template, make sure that your teammates have access to the connected Excel workbook.
- If you connect an Excel table that contains more than 1,000 rows, it might slow down the add-in performance.
-
To start creating an Excel-based dataset, right-click a folder on the Shared Email Templates pane, and then select New Dataset.

-
In your default browser, a new tab with the Shared Email Templates app will open. Name your dataset, and then—depending on the location of your file—select either Excel Table from OneDrive or Excel Table from SharePoint.

-
Select a file and click Open.

-
Choose a table and click Select.

-
You can open or change the selected workbook if you want to.

On making sure that the right workbook and the right table are selected, save your dataset.

On the Shared Email Templates pane, Excel-based datasets are marked with a special icon.

Editing a dataset
On the Shared Email Templates pane, right-click a dataset that you want to modify and select Edit in Browser.

Tip. When editing a simple dataset, you can change the order of columns by dragging and dropping them. The only exception is the key column, it's always the leftmost column and can't be moved.


Please contact us here