In this video, we explain step by step how to automatically insert part of your template into a message only if a specific condition is met.
You can add a condition to a paragraph, a list, a list item, a table, or a table row and get this section inserted into an email message along with the whole template only when the condition is met. A section with an applied condition becomes an Insert-if section. You can also add a condition to several sections in one go and to selected text within a paragraph, a list item, or a table cell.
To get a quick Insert-if Sections cheat sheet, click the button below.

In this video, we explain step by step how to automatically insert part of your template into a message only if a specific condition is met.

With this video, you'll learn how to insert a section of an email template into your message based on a regular expression condition.
You can base a condition on some text in an email message field or on the result returned by the WhatToEnter macro.

Note. To add a condition to some text within a paragraph, a list item, or a table cell, select that part, right-click it, and then select Add condition to selection.

Note. The "location" option is unavailable in Shared Email Templates for Gmail as this extension doesn't support appointments and meetings.
Click OK.

Note. You can select the Case-sensitive checkbox for such conditions as "contains", "doesn't contain", "contains any of", "contains none of", "is equal to", "is equal to any of", and "is equal to none of".


Note. If you add a condition to a list item, you won't be able to add a condition to the whole list, and vice versa. If you add a condition to a table row, you won't be able to add a condition to the whole table, and vice versa.
When you insert such a template into an email message, the add-in checks the specified email message field(s) for the condition and the section that the condition is applied to is inserted only if the condition is met.

Tip. You can combine several conditions with the AND and OR logical operators by selecting the corresponding buttons.

In this way, you can add complex conditions to sections in your templates. For example, a paragraph will be inserted along with the whole template if the To field contains a specific domain and the subject contains a specific word or phrase, or the To field contains the same domain and the message body contains another specific word or phrase.


Note. To add a condition to some text within a paragraph, a list item, or a table cell, select that part, right-click it, and then select Add condition to selection.

When you're done, click OK.

Note. You can select the Case-sensitive checkbox for such conditions as "contains", "doesn't contain", "contains any of", "contains none of", "is equal to", "is equal to any of", and "is equal to none of".

Tip. You can use the AND and OR buttons to combine conditions.
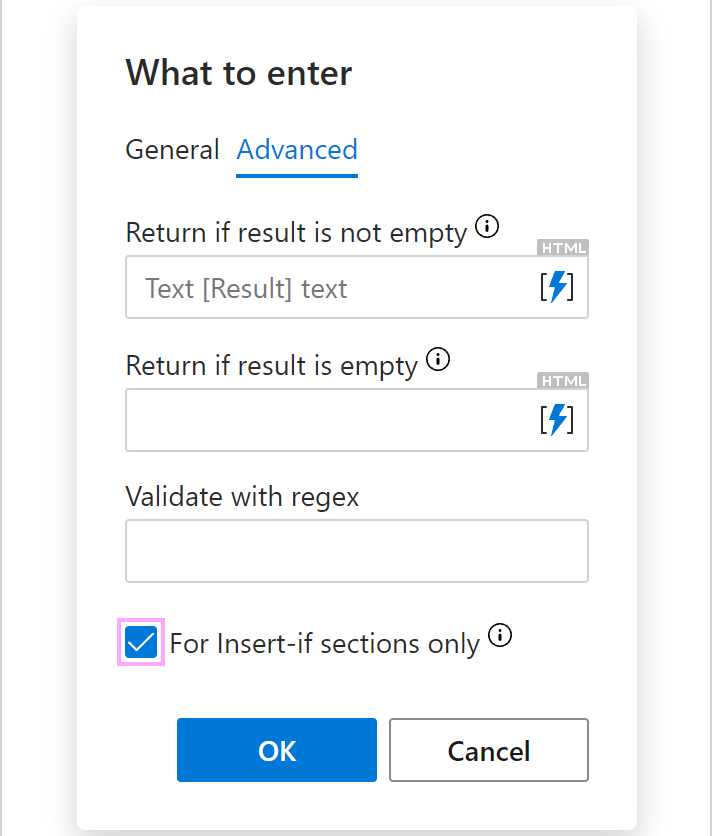
Tip. To avoid inserting the result returned by the WhatToEnter macro into an email message along with the whole template and use that result to simply check the condition, select the For Insert-if sections only checkbox when inserting the WhatToEnter macro into your template. The checkbox is on the Advanced tab of the macro dialog.


Note. If you add a condition to a list item, you won't be able to add a condition to the whole list, and vice versa. If you add a condition to a table row, you won't be able to add a condition to the whole table, and vice versa.
When inserting such a template into an email message, you'll see a WhatToEnter macro dialog prompting you to select or enter some data. As soon as you do that and click OK, the data you've selected or entered—the WhatToEnter result—will be checked for the condition you applied.

If the condition is met, the section that the condition is applied to will be inserted into the email message along with the whole template.

Note. You can use nested Insert-if sections as long as they don't exceed one nested level.
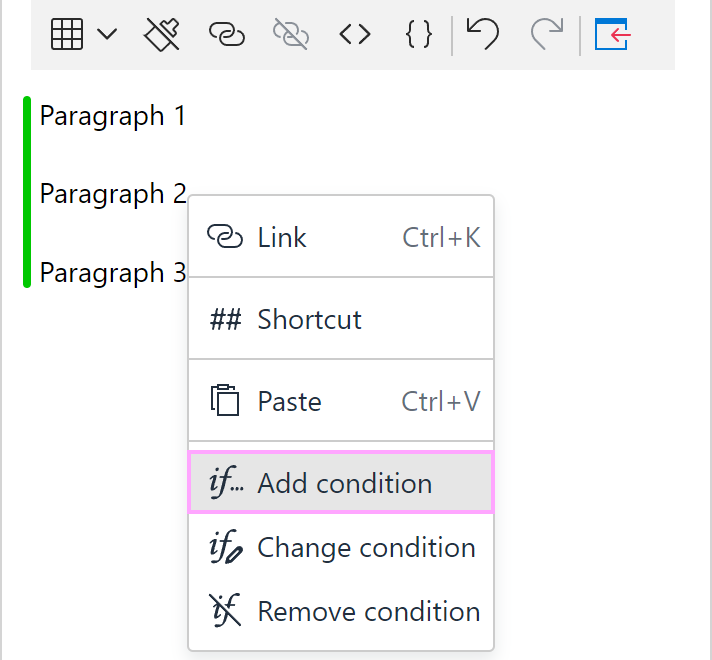
To set up an additional condition within an Insert-if section in your template, right-click a paragraph, a list, a list item, a table, or a table row that is inside the Insert-if section and choose to add a condition.

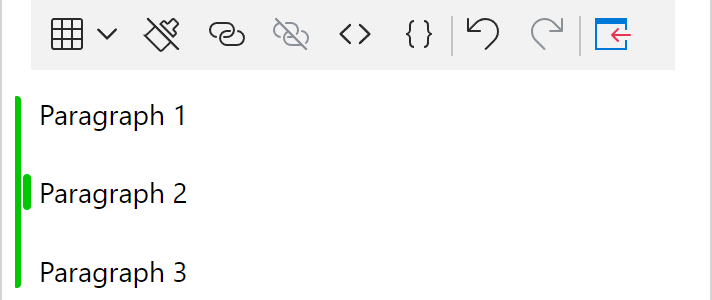
As soon as you add the condition, a green indicator will appear inside the Insert-if section to indicate the nested Insert-if section.

Note. To add a condition to some text within a paragraph, a list item, or a table cell that is inside the Insert-if section, select that part, right-click it, and then select Add condition to selection.

If you want to modify a condition, right-click the section it's applied to and opt for Change condition.

After you make the necessary changes, save them.
Right-click a section where the condition is not needed. Then select the Remove condition option.

After removing the condition, save your changes.
Please contact us here