Add interactive fillable fields
In Shared Email Templates for Microsoft Outlook
Here is a quick Interactive fillable fields cheat sheet:
How to add interactive fields to Outlook messages
This video explains how to create fields for entering a text value, selecting from a dropdown, picking a date or time, and selecting a value from a dataset.
Run time: 03:48
What is an interactive fillable field
An interactive fillable field is a field in your template that is replaced with the data you either enter or select via a dialog when inserting the template into an email message. You can create interactive fillable fields for text values, dropdown lists, date and time pickers, or values from datasets by using the WhatToEnter macro.
How to create a text-entry field
If you want to have an interactive field for a text value in your template, use the Text field option of the WhatToEnter macro.
- In your template, place the cursor where a text-entry field is needed, and then select the Insert macro button.

- Select What to Enter.

- In the What to enter dialog, select Text field. Then enter the field name and a default value. Click OK.

-
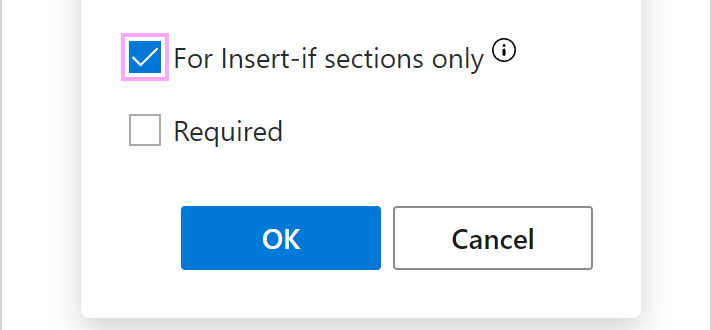
If you select the For Insert-if sections only checkbox, the value returned by the WhatToEnter macro won't be inserted into an email message and will be used only for checking a condition.

-
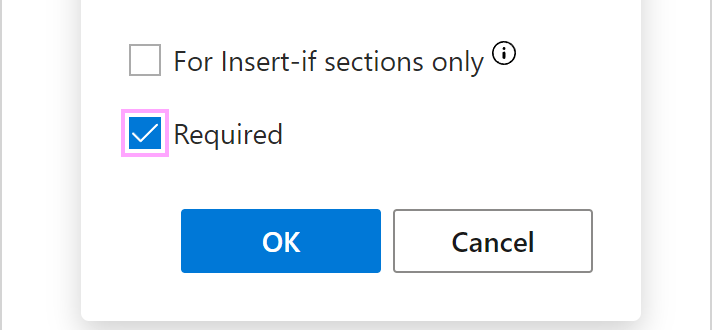
With the Required checkbox selected, your template won't be inserted into an email message if the value isn't entered.

Tip. With the Insert nested macro button, you can open a list of macros that can be nested and select the one you need.

Tip. The HTML icon means that HTML is supported, so you can enter a piece of HTML code.

-
If you select the For Insert-if sections only checkbox, the value returned by the WhatToEnter macro won't be inserted into an email message and will be used only for checking a condition.
-
In your template, an interactive fillable field shown with a WhatToEnter macro placeholder will appear. Click Save.

When you insert a template containing a text-entry field into an email message, a dialog will appear making it possible for you to enter some new text or keep the default one.

How to add a field for selecting from a dropdown
To add an interactive field for a list item, use the Dropdown list option of the WhatToEnter macro.
- In your template, place the cursor where a field for selecting from a dropdown is needed, and then select the Insert macro button.

- Select What to Enter.

- In the What to enter dialog, select Dropdown list. Then enter the field name and items (one per line). Click OK.

-
To make it possible to make changes to the list item(s) when inserting your template into an email message, select the User can edit selected item(s) checkbox.

-
If you want to select several list items when inserting your template into an email message, select the User can select multiple items separated by checkbox. Enter a separator that will divide the selected list items.

-
If you select the For Insert-if sections only checkbox, the value returned by the WhatToEnter macro won't be inserted into an email message and will be used only for checking a condition.

-
With the Required checkbox selected, your template won't be inserted into an email message if the value isn't entered.

Tip. With the Insert nested macro button, you can open a list of macros that can be nested and select the one you need.

Tip. The HTML icon means that HTML is supported, so you can enter a piece of HTML code.

-
To make it possible to make changes to the list item(s) when inserting your template into an email message, select the User can edit selected item(s) checkbox.
- A WhatToEnter macro placeholder will be added to your template indicating an interactive fillable field. Click Save.

When you insert a template containing a field for selecting from a dropdown into an email message, a dialog will appear making it possible for you to select any list item.

How to create a date picker field
If a field for a date picker is needed for your template, use the Date option of the WhatToEnter macro.
- In your template, place the cursor where you'd like to add a date picker, and then select the Insert macro button.

- Select What to Enter.

- In the What to enter dialog, select Date. Then enter the field name, select a date format and a language tag (locale). To get a certain number of days subtracted or added automatically, enter the necessary value under Days before/after current date. Click OK.

Tip. With the Insert nested macro button, you can open a list of macros that can be nested and select the one you need.

Tip. If you need a language tag that isn't listed under Language tag (locale), you can find the necessary language and country on the Supported locale codes page on the Microsoft Learn website, and then enter the corresponding tag from the "Code" column into the Language tag (locale) box. For example, to get the date spelled in Spanish that is spoken in the Dominican Republic, you'll need to enter "es-do".
-
In your template, an interactive fillable field shown with a WhatToEnter macro placeholder will appear. Click Save.

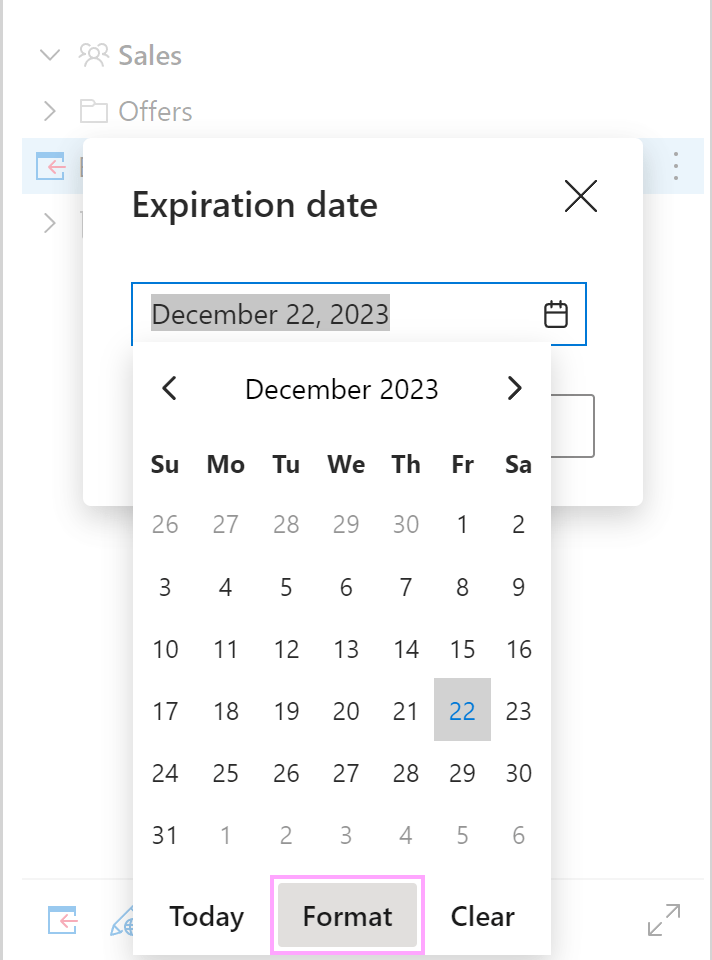
When you insert a template containing a date picker into an email message, a dialog will appear making it possible for you to select the necessary date.

Tip. On clicking Format, you can change your date format preference if necessary.

Tip. You can also set the default format and language for dates by creating team or profile properties. To learn more, visit these help pages:
How to create a time picker field
To create a field for a time picker, use the Time option of the WhatToEnter macro.
- In your template, choose a place for a time picker field and put the cursor there. Then select the Insert macro button.

- Select What to Enter.

- In the What to enter dialog, select Time. Then enter the field name, select a time format and a language tag (locale). To get a certain number of minutes subtracted or added automatically, enter the necessary value under Minutes before/after current time. Click OK.

Tip. With the Insert nested macro button, you can open a list of macros that can be nested and select the one you need.

-
An interactive fillable field shown with a WhatToEnter macro placeholder will be added to your template. Click Save.

When you insert a template that has a time picker into an email message, you'll see a dialog prompting you to select the necessary time.

How to add a field for selecting from a dataset
If you'd like to create an interactive fillable field that will make it possible for you to select a value from a dataset, use the Dataset option of the WhatToEnter macro.
- Decide where in your template to place a field for selecting from a dataset and put the cursor there. Then select the Insert macro button.

- Select What to Enter.

- In the What to enter dialog, select Dataset. Then enter the field name, select a dataset and a column. Then click OK.

-
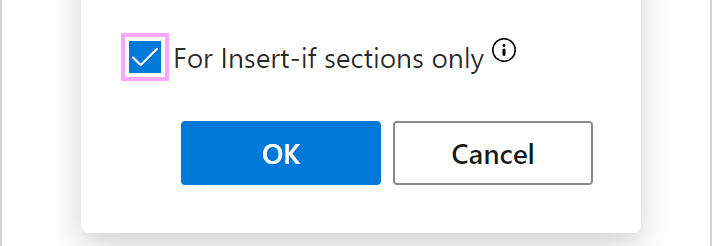
If you select the For Insert-if sections only checkbox, the value returned by the WhatToEnter macro won't be inserted into an email message and will be used only for checking a condition.

Tip. With the Insert nested macro button, you can open a list of macros that can be nested and select the one you need.

-
If you select the For Insert-if sections only checkbox, the value returned by the WhatToEnter macro won't be inserted into an email message and will be used only for checking a condition.
-
When an interactive fillable field shown with a WhatToEnter macro placeholder appears in your template, click Save.

When you insert a template that contains a field for selecting from a dataset into an email message, a dialog will appear, and you'll be able to select a value from the key column of the specified dataset.

How to repeat an interactive fillable field
- Select the Insert macro button.

- Select What to Enter.

- Under Copy from another WTE, select any WhatToEnter macro that you want to repeat and click OK.

You can also right-click a WhatToEnter macro placeholder in a template that you're creating or editing, select Copy on the menu that will appear, and then paste the macro.

Responses
I should've tried that! Thanks :)
You're most welcome, Leroy.
Good to know that our solution works for you.
If it's not too much trouble for you, I would appreciate it if you rate our app and write a few words on Microsoft Office Store. This motivates us and our developers in particular, to continue providing the best experience possible for you and helps others understand how our product can make their life easier. Thank you in advance.
Is there a way to insert the value of a What To Enter macro into multiple parts of the message? For example if it prompts for someone's name, we don't have to prompt multiple times?
Hello Leroy,
Thank you for the question.
Sure, it is possible to insert the same value to several places of your template with the What to Enter macro. Simply create the macro once, copy it using the key combination Ctrl+C and then paste it in the desired places in your template using the key combination Ctrl+V.
Post a comment
Seen by everyone, do not publish license keys and sensitive personal info!
