Step 6: Manage users
You can change the team members' permissions, remove a team member from the team, edit your team or close it:
In this guide, you will find instructions for IT pros on how to deploy, activate, create a team & invite members, and manage Shared Email Templates for your Microsoft Outlook users.
Consider the following points:
As an admin, you can create teams, invite users, manage access permissions, manage subscription keys, close teams. Your first step is to create an account:
You can activate your subscription on receiving your subscription key. The number of users that a key is intended for depends on the number of subscriptions it covers.
You can create a team and, optionally, encrypt it. To do this, you will enter and confirm the Team Password.
How to create and manage teams
Here is more information on why we recommend encrypting teams:
Encryption and your data protection
When your team is created, you can invite users manually by entering their emails and checking permissions:
How to invite team members manually
Or you can import a .CSV file with all the emails and permissions:
How to import emails and permissions
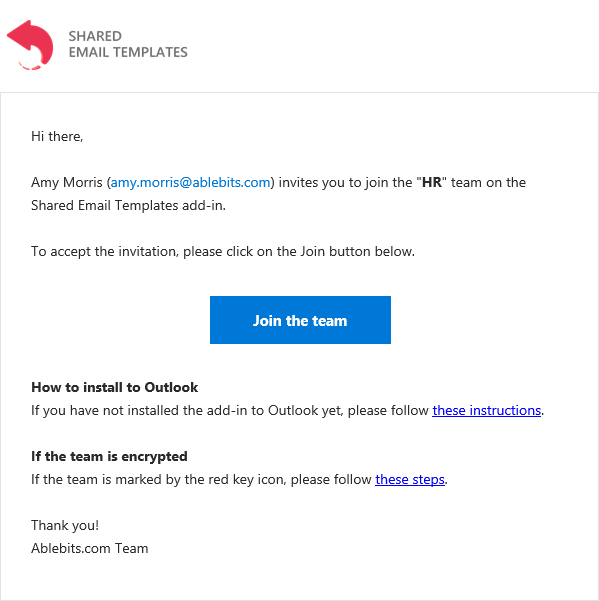
As soon as you click the Send invite button, your colleagues will receive an invitation to join the team. This is how it looks like:
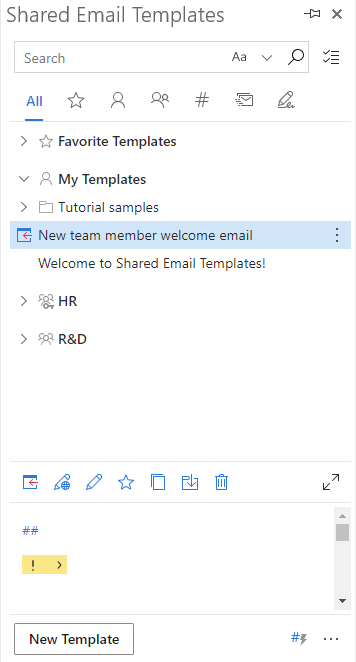
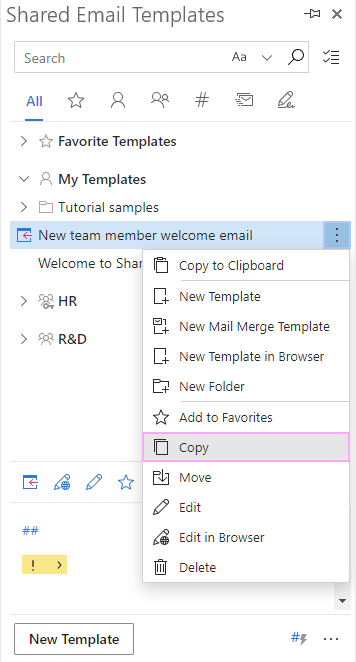
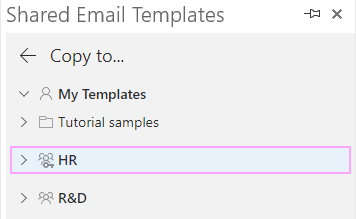
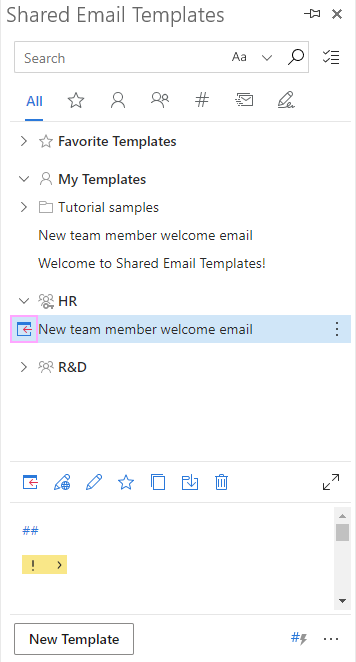
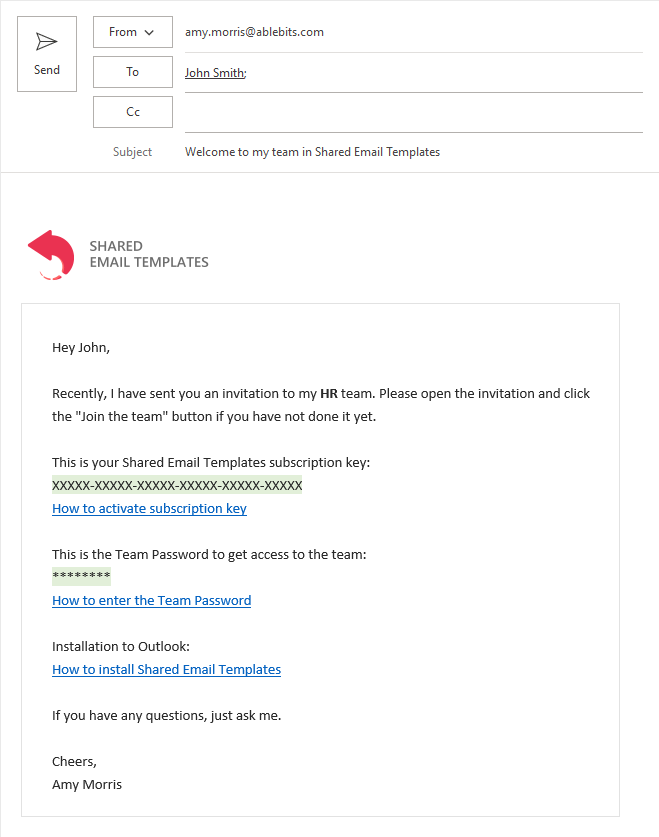
To secure your privacy, we do not pass the password and key automatically, so this is your responsibility to communicate them to your colleagues. However, we've created an easy way for you to do that. The built-in New team member welcome email template in My Templates will help.
You can change the team members' permissions, remove a team member from the team, edit your team or close it:
Responses
It is not entirely clear to me whether we can use the Ablebits templates for our helpdesk where we want to have a set of separate personal templates (for each individual user) and a set of "team" templates that everyone in the team can use.
Can each set (personal and team) exist of max. 512 templates?
Hello Michiel,
Thank you for your question. Each licensed user can create up to 512 personal templates (in My Templates) and access the same number of folders and templates in a team. Don't hesitate to contact me again if you have any other questions or difficulties.
Post a comment
Seen by everyone, do not publish license keys and sensitive personal info!